I've had some requests for directions on my random patchwork quilt, so I thought I would do that with a new baby quilt I'm working on as part of a set for Cortney. I am warning you that many of these directions are 'random'!! First, the number of fabrics needed? A completely personal choice. The more the merrier as you will see~ if you don't use enough of a variety, you will have duplicates near or next to each other. For this quilt, size 40x46 (apx), I have used various prints from Jennifer Paganelli's Poodle, Sisboom basics, Flower Power & Pretty Please in fuschia, turquoise, blue, pink & yellow. Usually I buy 1 yard of each print & use a little more than 1/2 yard of each in cutting them up. I like 10-12 fabrics in smaller & of course more for my larger sizes. I play with the pattern as I go, so I want a variety of sizes for every color & print, but not every piece will be used. I love to have at least 3 colors with one of the colors being a 'pop'. In this group, the yellow is my pop. The pile above is what's left after I designed the top. Probably enough for another 40x46. See what I mean about random?? Okay, here are the cutting instructions:
*From each fabric, cut strips in these sizes:
8.5, 6.5, 4.5 (for larger quilts I also cut 12.5)
*Then cut your strips again lengthwise into 8.5, 6.5, & 4.5
* When finished, you should have these sizes:
8.5x8.5, 8.5x6.5, 8.5x4.5, 6.5x6.5, 6.5x4.5 & 4.5x4.5
Next, I find it helpful to separate the piles by size & color on my floor or table. All 8.5 squares together in piles by color. The next post will be about the next step. If you have any questions, either leave a comment on my post if your profile links your email, or email me at
sewfunbymonique@gmail.com.

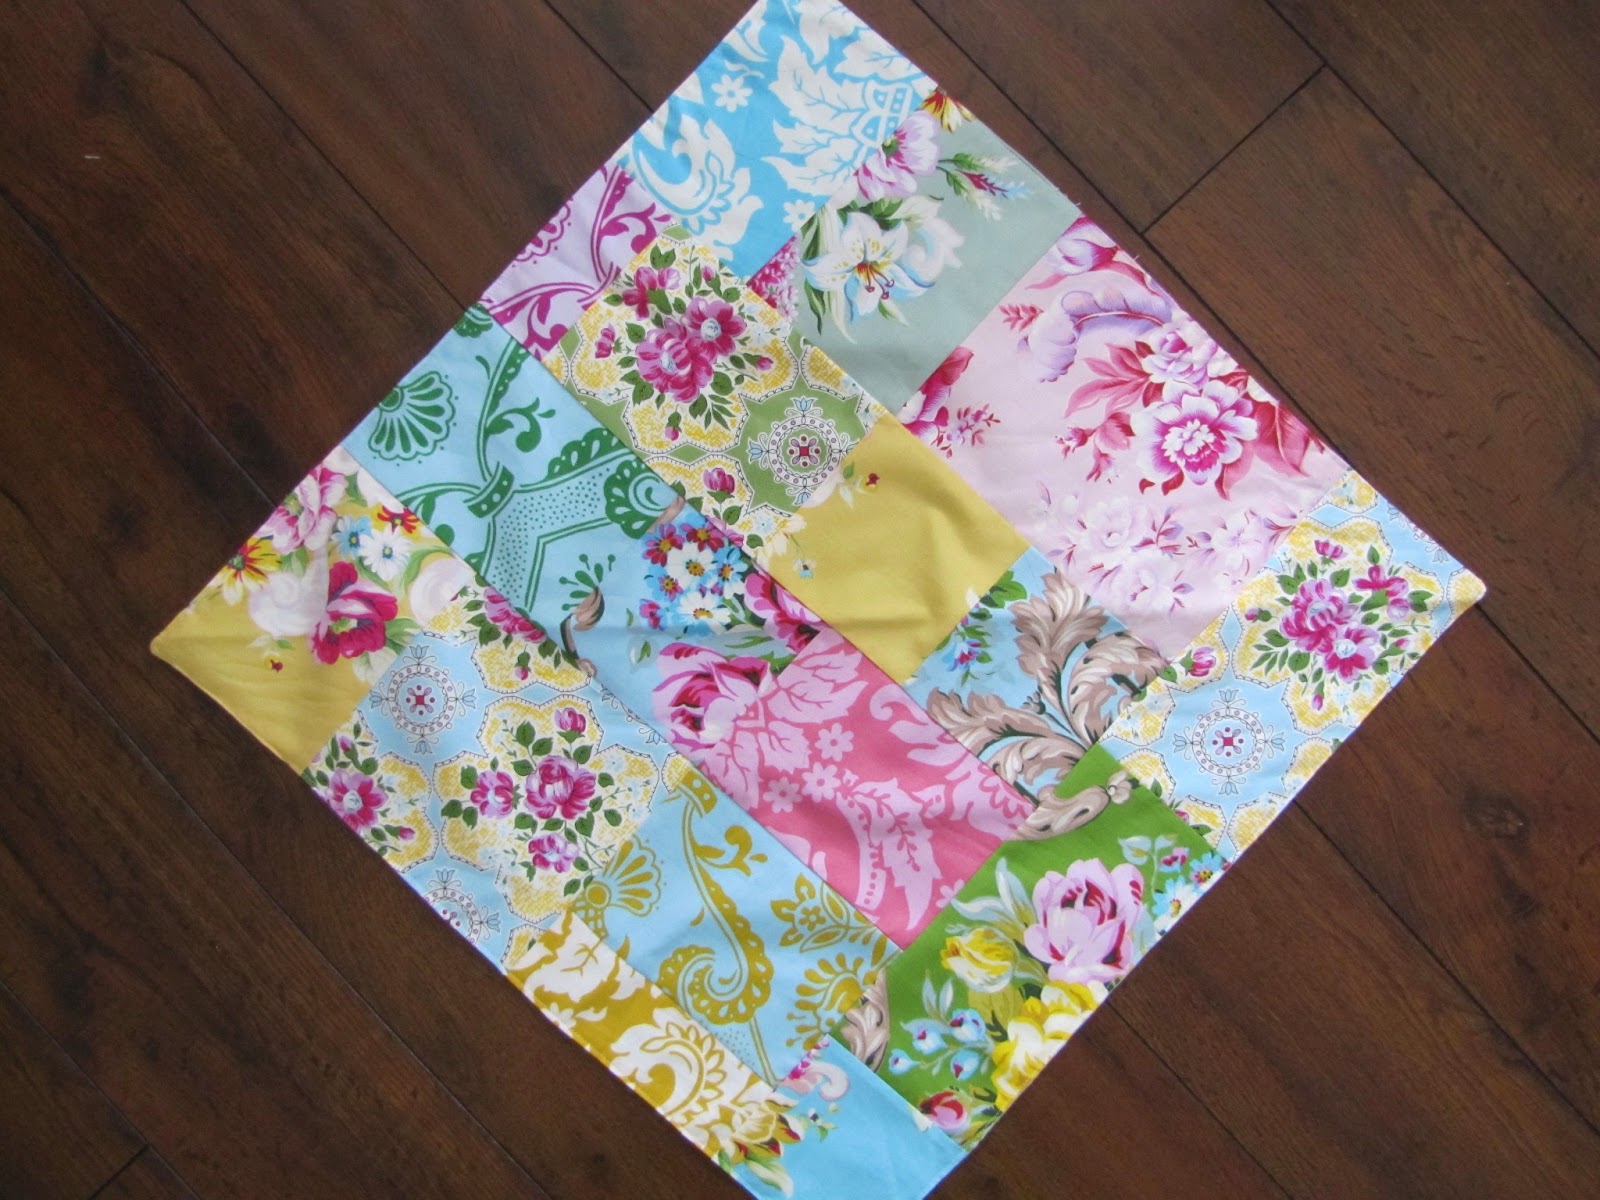


 Had to pause the posts for a weekend of soccer tournaments for my daughter! Okay, once your fabric is organized, start laying out a pleasing pattern. I start in the upper left corner with an 8x8 (I'm dropping the half inch for typing purposes) square of my inspiration fabric~ in this case Tanya~ then start going across the top until your patches add up to 42". So, first square 8, second 8, third 6. Keep going until you are at 42. Going under the original 8" square, do the same thing going down to 48". Fill in between a combination of patches with good distribution of color and sizes.
 I've had some requests for directions on my random patchwork quilt, so I thought I would do that with a new baby quilt I'm working on as part of a set for Cortney. I am warning you that many of these directions are 'random'!! First, the number of fabrics needed? A completely personal choice. The more the merrier as you will see~ if you don't use enough of a variety, you will have duplicates near or next to each other. For this quilt, size 40x46 (apx), I have used various prints from Jennifer Paganelli's Poodle, Sisboom basics, Flower Power & Pretty Please in fuschia, turquoise, blue, pink & yellow. Usually I buy 1 yard of each print & use a little more than 1/2 yard of each in cutting them up. I like 10-12 fabrics in smaller & of course more for my larger sizes. I play with the pattern as I go, so I want a variety of sizes for every color & print, but not every piece will be used. I love to have at least 3 colors with one of the colors being a 'pop'. In this group, the yellow is my pop. The pile above is what's left after I designed the top. Probably enough for another 40x46. See what I mean about random?? Okay, here are the cutting instructions:


 Here is my first tutorial and it isn't even about sewing! However, had to include fabric in the pic because it matched! :) I have been thinking about how to label soda cans for my sons 14 party. We always end up with cans with no owners. This is no earth shattering idea, just a mom's way of organizing (and lets face it, make things cuter!) I hate to call it a tutorial because you can probably figure out how to do it by looking at it, but I thought it would be fun. I started to think that I could use these when kids come over and get a cup and forget whose is whose or even my own kids during the day. I always end up with lots of cups at the end of the day. I am at least trying to figure this problem out! Here's what you need: rubber bands, masking tape, sharpies. Write the name on the tape, fold on itself while attaching to the rubber band~ voila! You can see my learning curve- 'Holly' came out better than 'Dylan' because I neatly folded the end over! I had hoped to put photos in between words, but it wasn't working. I have more work to do to figure out this tutorial thingy!